Deformations, Polygroups and Clip Brushes
Deformers:
Deformers allows us to edit our sculpt in various ways using unique sliders. You can access the deformers menu either through the move tool above the Gizmo or in the tool menu at the top. When using the tool menu under the gizmo press the icon that looks like a cog, This will bring up the options below.


When using the deformers it is important to note that they will work alongside selection masks to achieve a variety of results. Below I have masked off the eye region of the base head model and used deformers on the rest of the unselected area to demonstrate this application.

To smooth out your deformations, you can use the Polish slider at the top of the deformations tab, this will add more polygons to your sculpt. When using the deformer sliders you can also adjust the axis affected by the deformation by selecting the X, Y and Z toggles to the right hand side of the deformer slider.
Using this I was able to create the model below, I masked off the top and bottom of the head separately so that I could stretch the bottom jaw open to create this effect.

Polygroups :
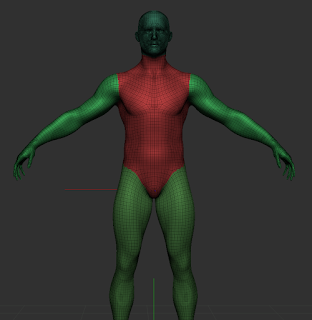
Polygroups are used to create separate selection areas on a mesh without separating the base mesh into different objects. It can be useful to select areas of focus when adding detail to a model. To create a polymesh, you can either use the Draw Polyframe tool or use the shortcut Shift-F. Then you only need to select certain areas as you would if you were using the mask tool. That being using CTRL and drawing over the area. Once you are happy with your selection, press CTRL-W to create a new Polygroup.

Shortcuts:
CTRL-W: adds a new polygroupCTRL-SHIFT-DRAG: Inverts polygroup visibility
CTRL-SHIFT-ALT: Hides Polygroup and mesh
W: transpose mode


Ctrl- shift click will select the polygroup you want to work on and masks other areas so that all changes applied will only apply to the highlighted area.


Clipping Brushes :
Clipping brushes are very similar to Maya's Boolean tool, they allow you to select and remove an area from a sculpt as a whole. To access the clipping brushes you can either use the shortcuts of BT or manually select them under the brush tab. from here you have a wide variety of clipping tools to use, all you need to do is select one and use CTRL-SHIFT-CLICK to subtract that area.
Raccoon Head :
By using a combination of all of the tools we have learnt so far I was able to create this raccoon head. I used masking tools to protect my base as I added more detail, Dynamesh to give my model more polygons, Polymesh to separate the ears from the head, clipping tools to give my model a flat base, IMM primitives for the eyes, and deformers to adjust the shape of the raccoon head. I am very very happy with how this turned out and I think I understand some of these tools a little better than I did the previous week. Some areas to improve upon is perhaps making my shapes more smooth, as in the back of the ears and around the eyes could certainly do with some extra smoothing to minimise the lumps but overall I am very happy with this sculpt.


Comments
Post a Comment